Inspired by the “Make Eufy smart again!” project i decided to also give my Eufy RoboVac 11S some much needed remote control.
As an avid Home Assistant user this “Smart” device was really missing the possibility for remote control to me. When i wanted to send the vacuum back to it’s charging dock i would need to search my drawers until i found the remote.
That’s when i found https://github.com/nakulbende/Make-Eufy-Smart-Again, inspiring me to follow the same path. But using ESPHome instead as it’s easy to configure and is natively supported by Home Assistant
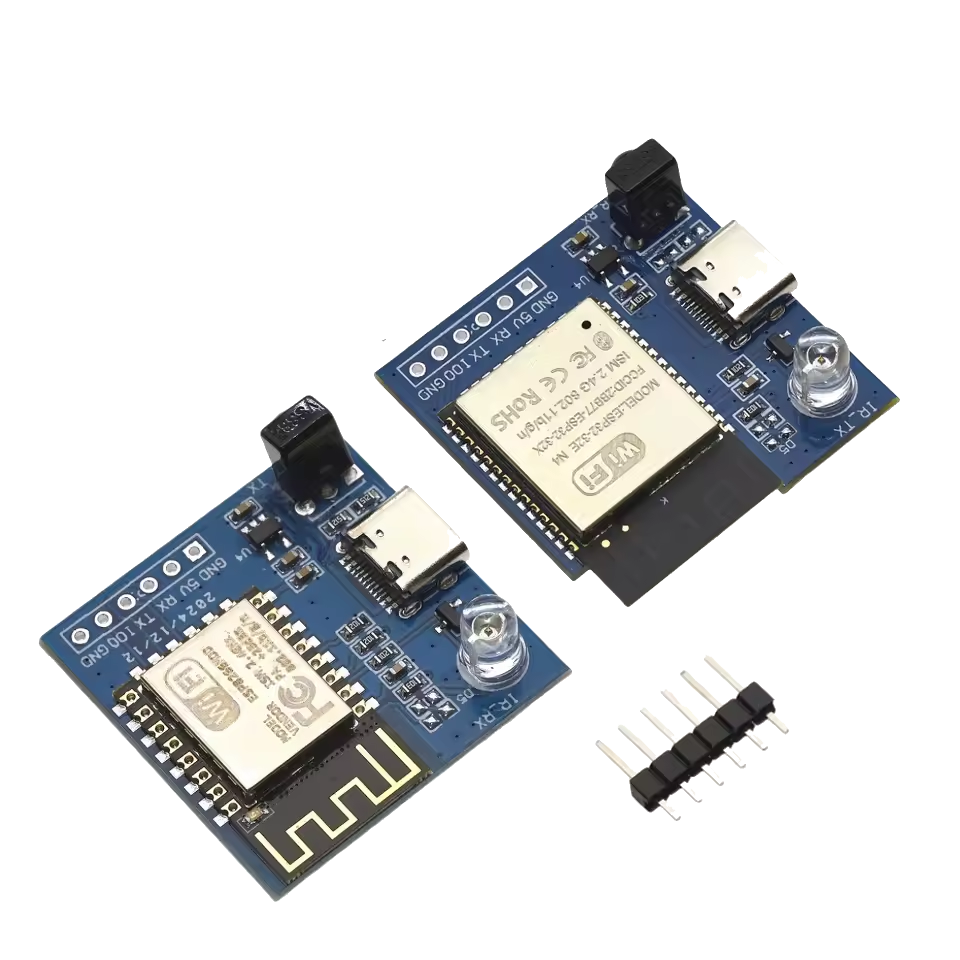
To start myself upon this path i decided to get one of these devices from Aliexpress for a couple of euros. I suggest the ESP32 version since it supports bluetooth that could come in handy later.
When i got the device i first started by programming it using ESPHome, capturing and transmitting codes. The captured data unfortunately comes in as “Pronto”
Received Pronto: data=
0000 006D 001F 0000 0071 0078 000E 0014 0012 008D 000B 0015 0011 003B 0011 0014 0013 0015 000A 001A 000D 0020 000B 0013 0013 003B 0011 0019 000D 0088 0011 0086 0013 0061 000B 0043 0009 0023 000B 0038 000C 001F 0007 008D 000B 0042
000E 001D 000D 0041 0008 003E 0008 0069 0012 0062 0011 0089 0008 0069 0010 00B1 0009 0124 000B 0180
Essentially this is a raw format, so it was not automatically recognized as a specific protocol. Luckily the vacuum does respond when replaying the Pronto codes!
What i didn’t like on the original repo is the fact that it sticks out and needs it’s own power source. So the next step is opening up the vacuum and start measuring voltages.
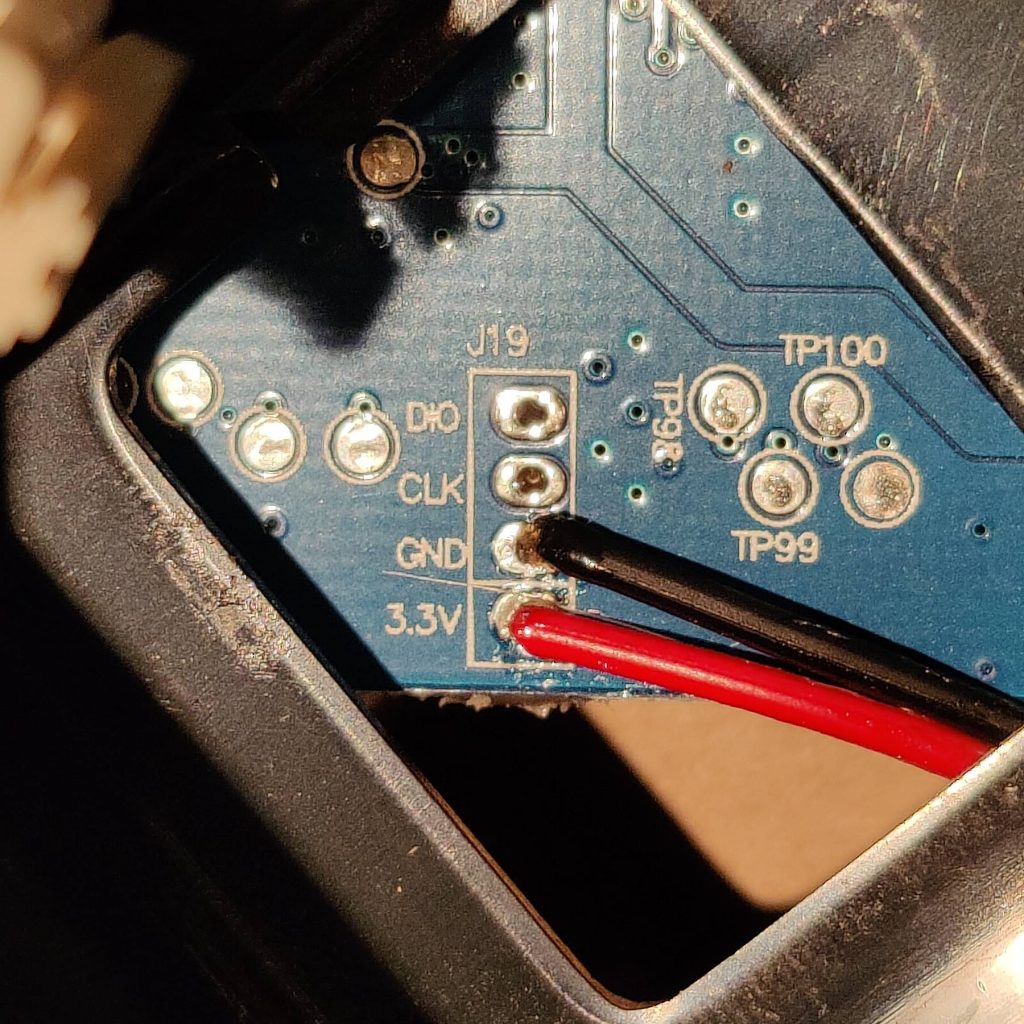
The breakout pins on it’s motherboard provide 3.3V, the connections for the IR receivers are 5V. Great! That means we can pull power from there. Turns out that was not so great… When the ESP attempted to start the voltage would plummet to 1-2V
That’s why i ended up going with the 3.3V breakout, this is the view from the battery compartment
Which i have attempted to hook up to the 5V breakout on the ESP IR transceiver since it was the only available VCC port (which did not work)
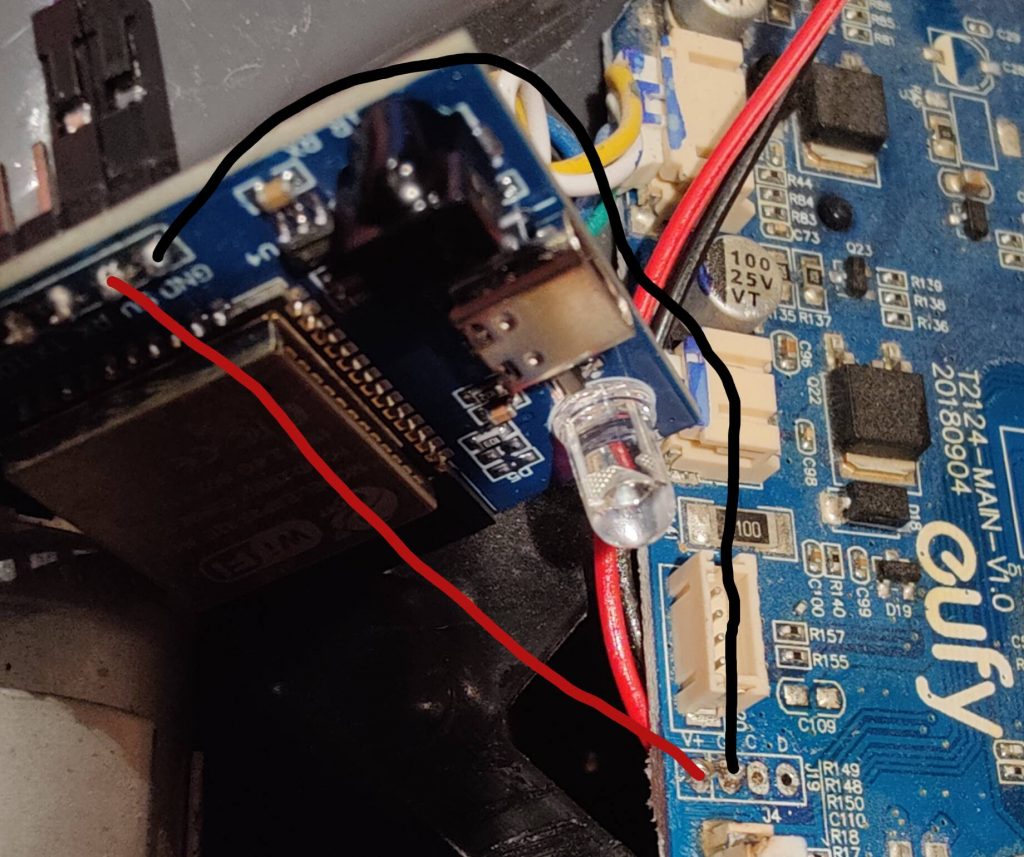
While it did give me a webpage and i could control the vacuum, it would cut out periodically. Turns out putting 3.3V on a 5V device tends to give inconsistent results (who knew!)
Which led me to do some of the smallest soldering i’ve done up until now. All ESP32 and 8266 chips run on 3.3V, but for ease of use many come with a USB port and 5V -> 3.3V converter. So connecting directly to the 3.3V port will help us with our instability.
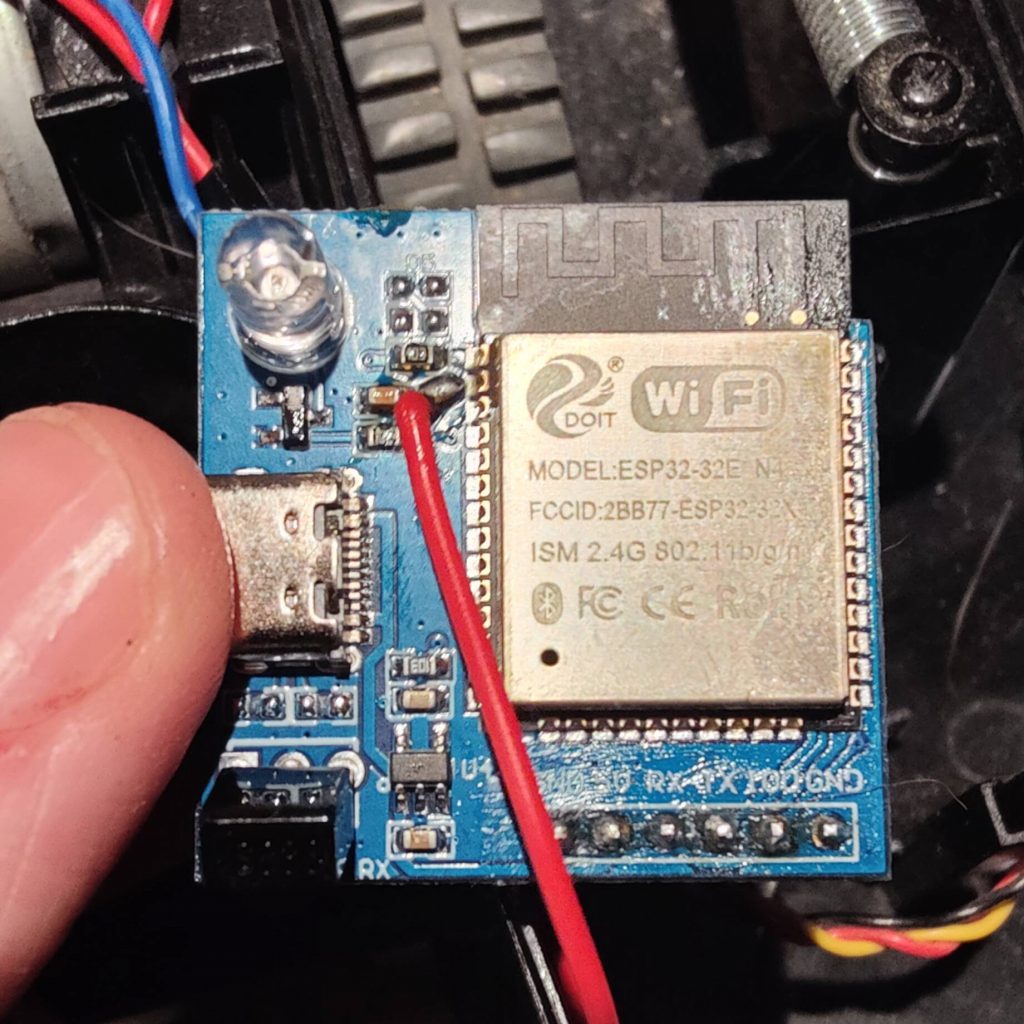
For me it was the 2nd pin on the top-left but please do check what pin it actually is for your device.
Anyways now that everything is hooked up we can start putting everything back together. Making sure the IR LED is close to the receiver of the vacuum.

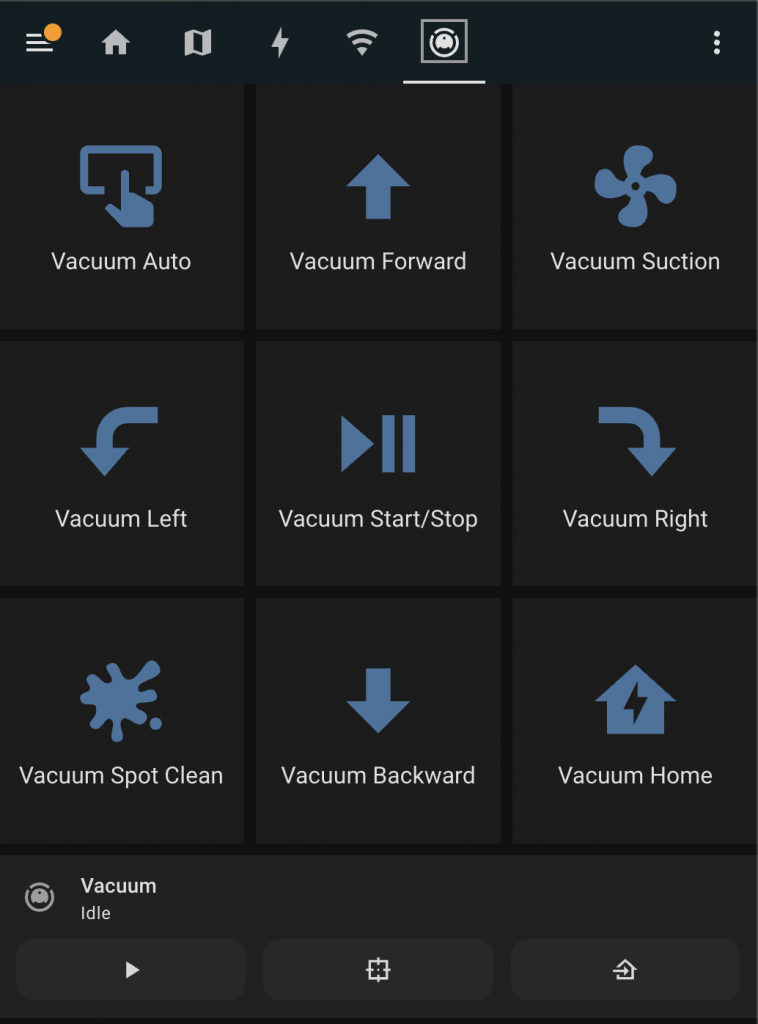
Now that the device is programmed and the vacuum is closed up, we can add it to Home assistant and create a template vacuum. To control it.
Next steps
As you might notice we cannot know wether the vacuum is docked, or where the vacuum is in the room in order to send it somewhere.
As you may have noticed in the gist, there is a BLE beacon config.
esp32_ble_beacon:
  type: IBEACON
  uuid: "<generate your own uuid>"
Using this beacon and multiple bluetooth receivers around the room, tools like BPS and Bermuda could determine it’s position in the room which i hope to use to steer and view the status of the vacuum.